Legs Up the Wall: A Most Healing Sequence
Mar 17, 2021
I've taught this sequence more than any other in twenty years of practice.
Students who come to me with critical back pain, high blood pressure, depression, or chronic tension will almost certainly be taught this one first. I knew it long before Lyme found me. What those years of illness gave me was a firsthand reckoning with just how deeply it works.
It's called Legs Up the Wall. And it's exactly what it sounds like.
Why This One Sequence Helps Back Pain, Tight Hips, Anxiety, and High Blood Pressure
Your nervous system has two primary modes. You've heard of fight-or-flight: the alarm state that mobilizes the body under threat. The counterpart is what's often called rest-and-digest: the parasympathetic state where healing, immune function, digestion, and genuine recovery actually happen.
Most of us spend far too little time there.
Legs Up the Wall is one of the most direct routes into parasympathetic activation that I know of. When your legs are elevated, blood shifts toward the core. Pressure-sensing receptors in the carotid arteries and the right atrium of the heart detect the change and send a clear signal: stand down. Heart rate slows. Blood pressure drops. Breath deepens into the belly.
And your body gets to work.
This is why the same sequence helps back pain, tight hips, anxiety, and hypertension. They all live downstream of the same switch.
Research on body position and cardiovascular function confirms what practitioners have long observed: the supine position is associated with measurably greater parasympathetic activity and lower heart rate compared to upright postures, with the shift occurring within minutes of lying down.
The Low Back Compensation Problem: Why Your Back Pain May Not Be a Back Problem
Here's something most people don't realize about their bodies: the low back is the most flexible part of the spine, and it compensates constantly for tightness everywhere else. Tight hips? The low back picks up the slack. Tight hamstrings? Low back again. Tight shoulders? You would be surprised how far the chain reaches.
When you stand or sit, your low back is perpetually negotiating with everything above and below it. This is why back pain is so common and so stubborn. The problem is rarely in the back itself.
When you lie on the floor with your legs up the wall, something important happens. Your spine is in perfect neutral: ears, shoulders, and hips aligned, the discs decompressed. The low back can no longer compensate for anything. And for the first time, you feel exactly how tight your hamstrings, inner thighs, hips, and calves actually are.
For some people this is a revelation.
They've been told for years that they have a back problem. What they actually have is a hip and leg problem that their back has been heroically and silently absorbing.
The same principle operates in standing yoga poses. I teach students to practice triangle, warrior 2, and side-angle with their back heel, shoulders, and head against a wall. Remove the spine's ability to compensate and suddenly they discover the same thing: the tightness is in the legs, the hips, the trunk. The floor does the same job, horizontally.
Legs Up the Wall and Blood Pressure: What Actually Happens
I'm someone who respects research, and I'm also someone who likes evidence from her own body. When I read a research paper claiming participants permanently lowered their blood pressure after two weeks of Legs Up the Wall ten minutes a day, I got curious enough to ask students with hypertension to measure themselves before and after each session, and also over time.
I've yet to do this with someone who didn't see a drop.
Many students have worked with their doctors to reduce or eliminate blood pressure medications by bringing in their tracking data - so much so that I insist that anyone on blood pressure medication do this to avoid dangerously low levels.
The physiology: when your legs are elevated, blood pools toward the belly and returns to the heart in greater volume. The receptor in the right atrium detects how full the heart is, and tells the heart to reduce its workload. At the same time, the baroreceptors in the carotid arteries detect slightly increased pressure and signal a reduction in heart rate and the force of each contraction. You are telling your cardiovascular system to stand down.
You may also notice that your pulse is measurably slower after the sequence. That is not a side effect. That is the point.
A note if you're currently on blood pressure medication: track your readings before and after each practice session for at least two weeks, and bring that data to your doctor before adjusting any medication. The effects are real, and your doctor needs the numbers.
Why Ten Minutes of Legs Up the Wall Feels Like a Nap
I know that sounds like an exaggeration. It isn't.
The research supports this. A 2019 systematic review and meta-analysis in Mayo Clinic Proceedings found that yoga produced meaningful reductions in both systolic and diastolic blood pressure, with the greatest effects when breathing techniques were included alongside the physical practice. An earlier systematic review of yoga for hypertension reached the same conclusion: yoga reliably lowers blood pressure, and the combination of posture, breath, and mental relaxation is what makes it work.
In addition, when you're horizontal with your legs elevated, the abdominal wall releases. The diaphragm can drop more fully with each inhale. Abdominal breathing, the kind the body was designed to use and the kind I teach in all of my work, becomes the natural default rather than something you have to consciously work toward. Exhales lengthen. The nervous system registers the shift within minutes.
This isn't intuition. A 2020 narrative review in Medicina confirmed that diaphragmatic breathing activates parasympathetic nervous activity, suppresses sympathetic activity, and increases heart rate variability. The body isn't simply resting. It's actively shifting modes.
Part of it is also the stillness. Most of us rarely give ourselves ten uninterrupted minutes of horizontal rest without a screen. This sequence is a small act of refusal. Put your phone down if you can. Close your eyes. Let your body do what it already knows how to do.
I use this after long days on my feet, after draining travel, after anything that has asked more than usual of my system. You do not need to be sick or in pain to benefit. I think of it the way I think of brushing my teeth: not rescue, just maintenance. Physical hygiene for a body that deserves it.
How to Practice the Legs Up the Wall Sequence
You will need a wall, a mat or carpet, and optionally a bolster. The video above walks through the full sequence. The notes below give you the detail to practice each position safely.
Allow ten to twenty minutes. You can do this every day. If you have only ten minutes, legs straight up the wall with eyes closed and breath moving freely is enough to shift your state.
One rule: this sequence is a conversation with your body, not a negotiation. The body should feel progressively more open, not strained. If a position creates sharp pain, especially near a joint, back off or skip it.
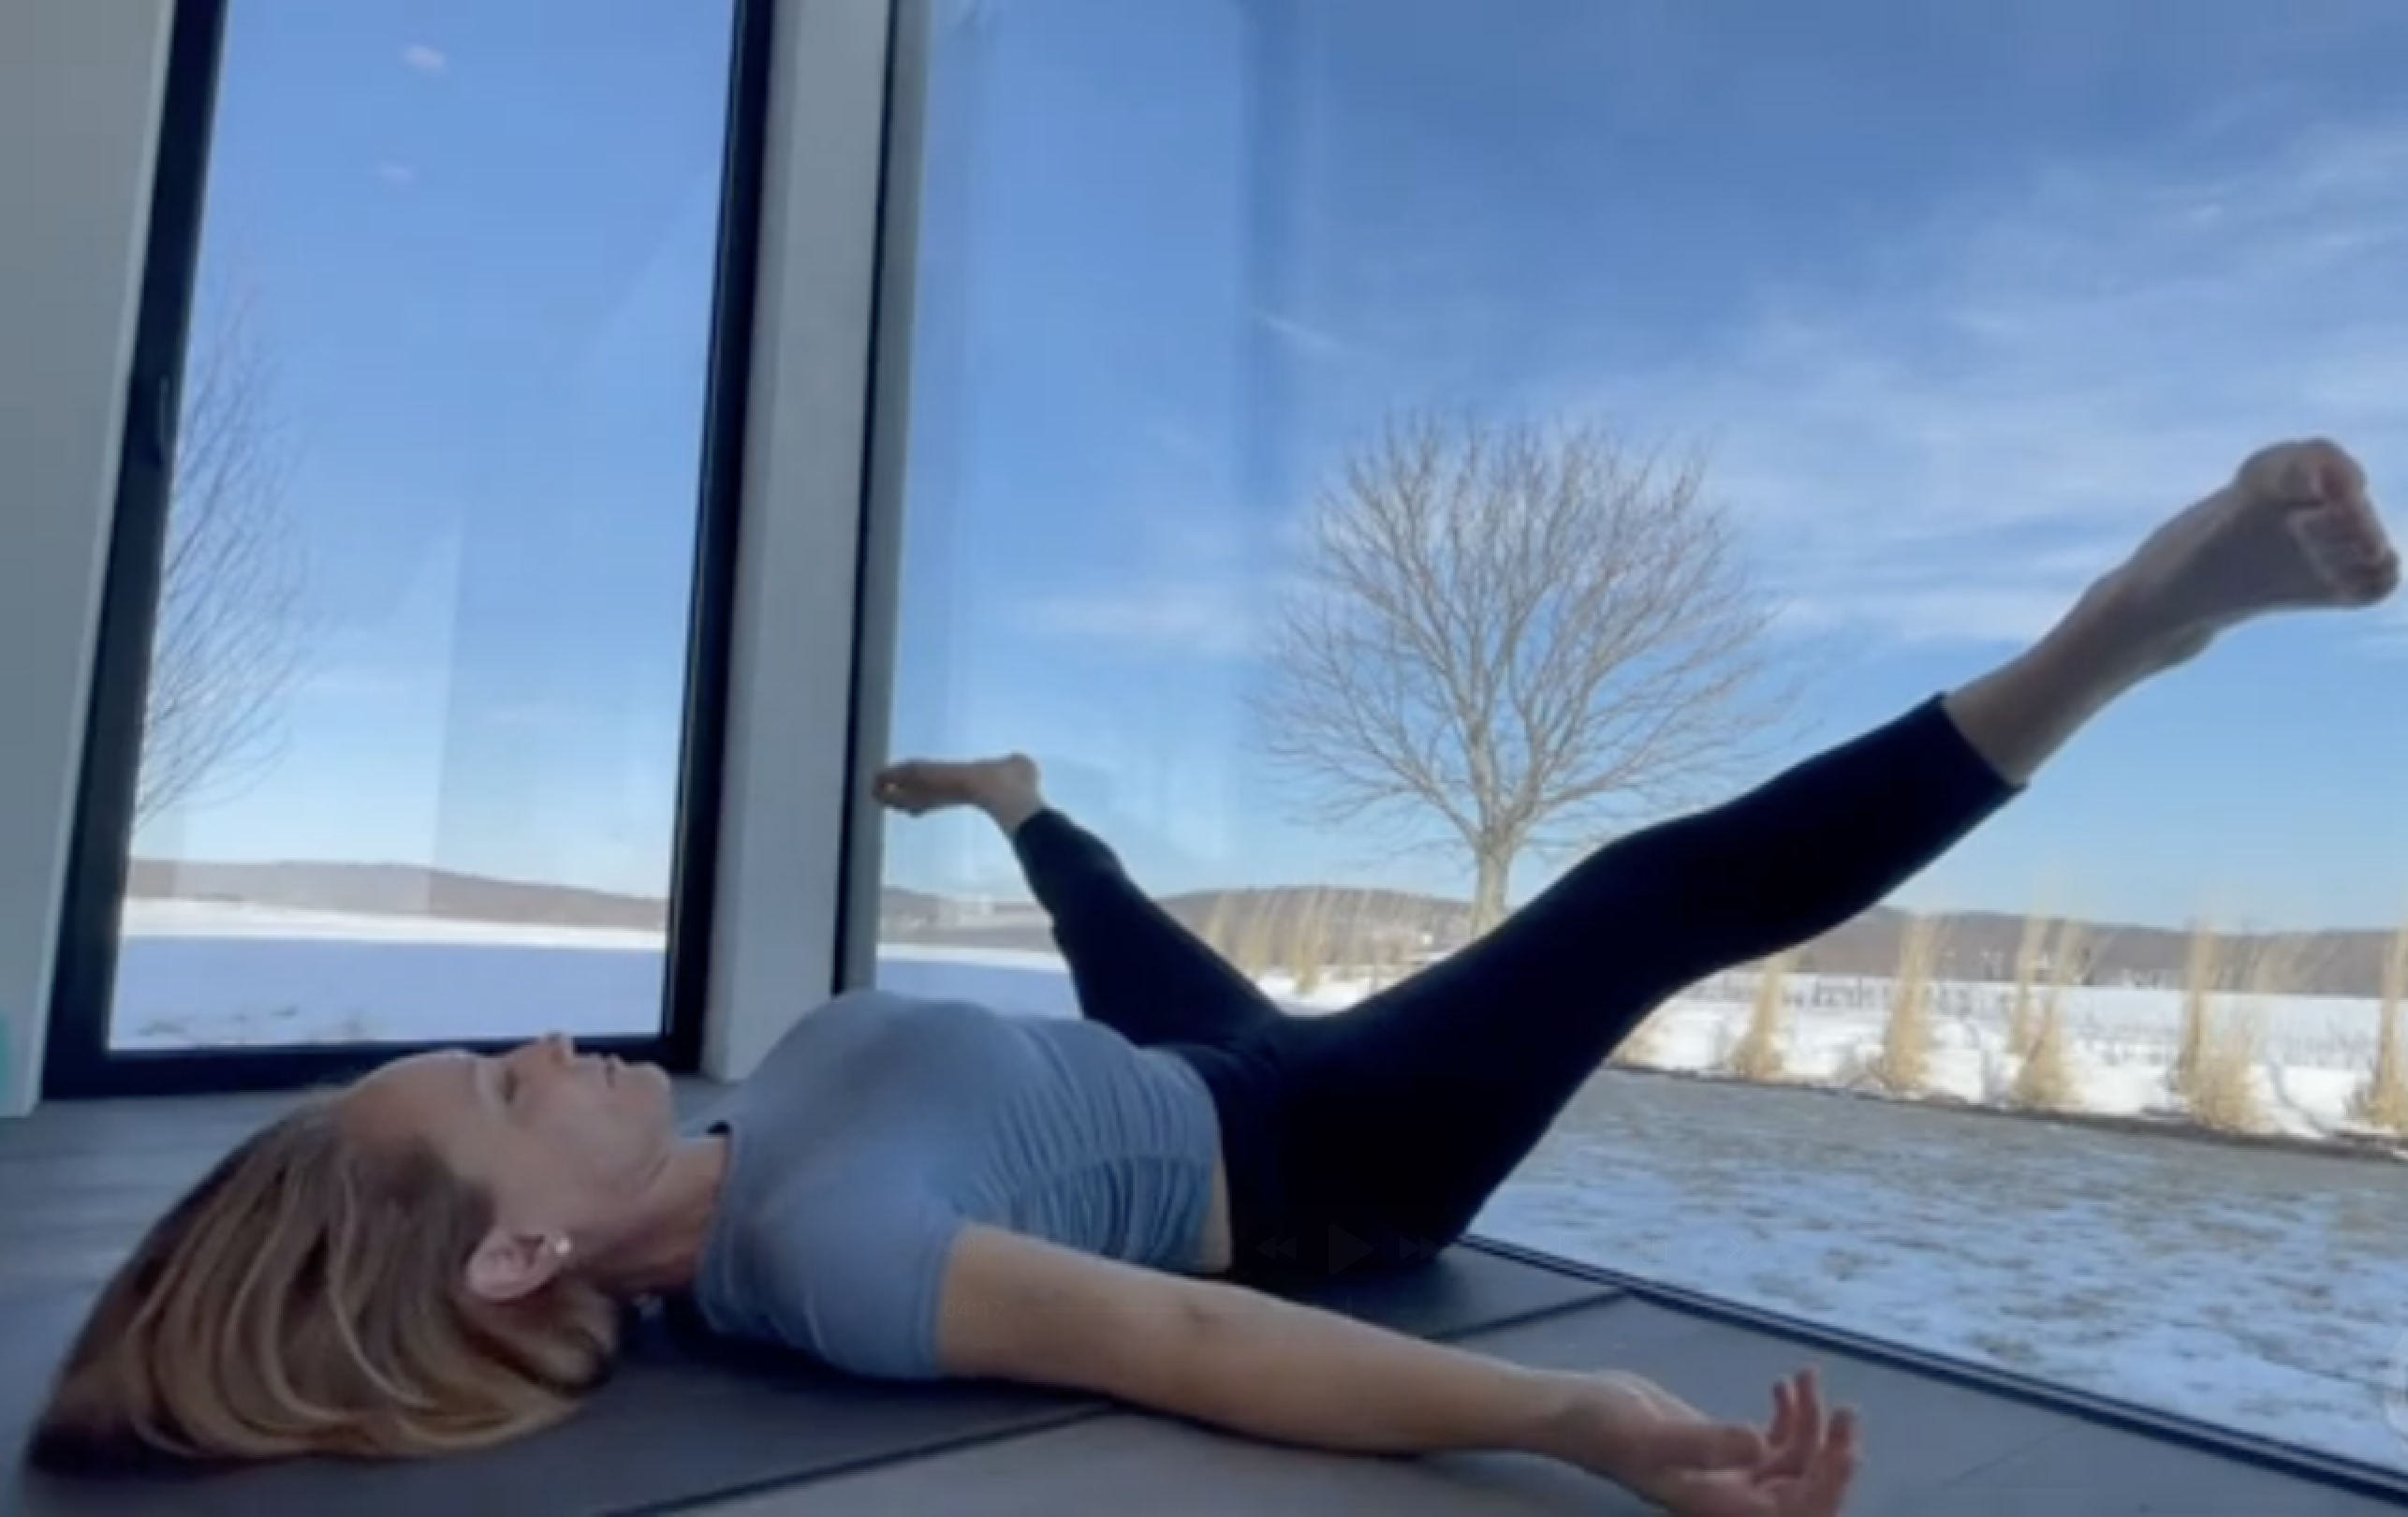
Legs Straight Up the Wall: Hamstrings and Calves
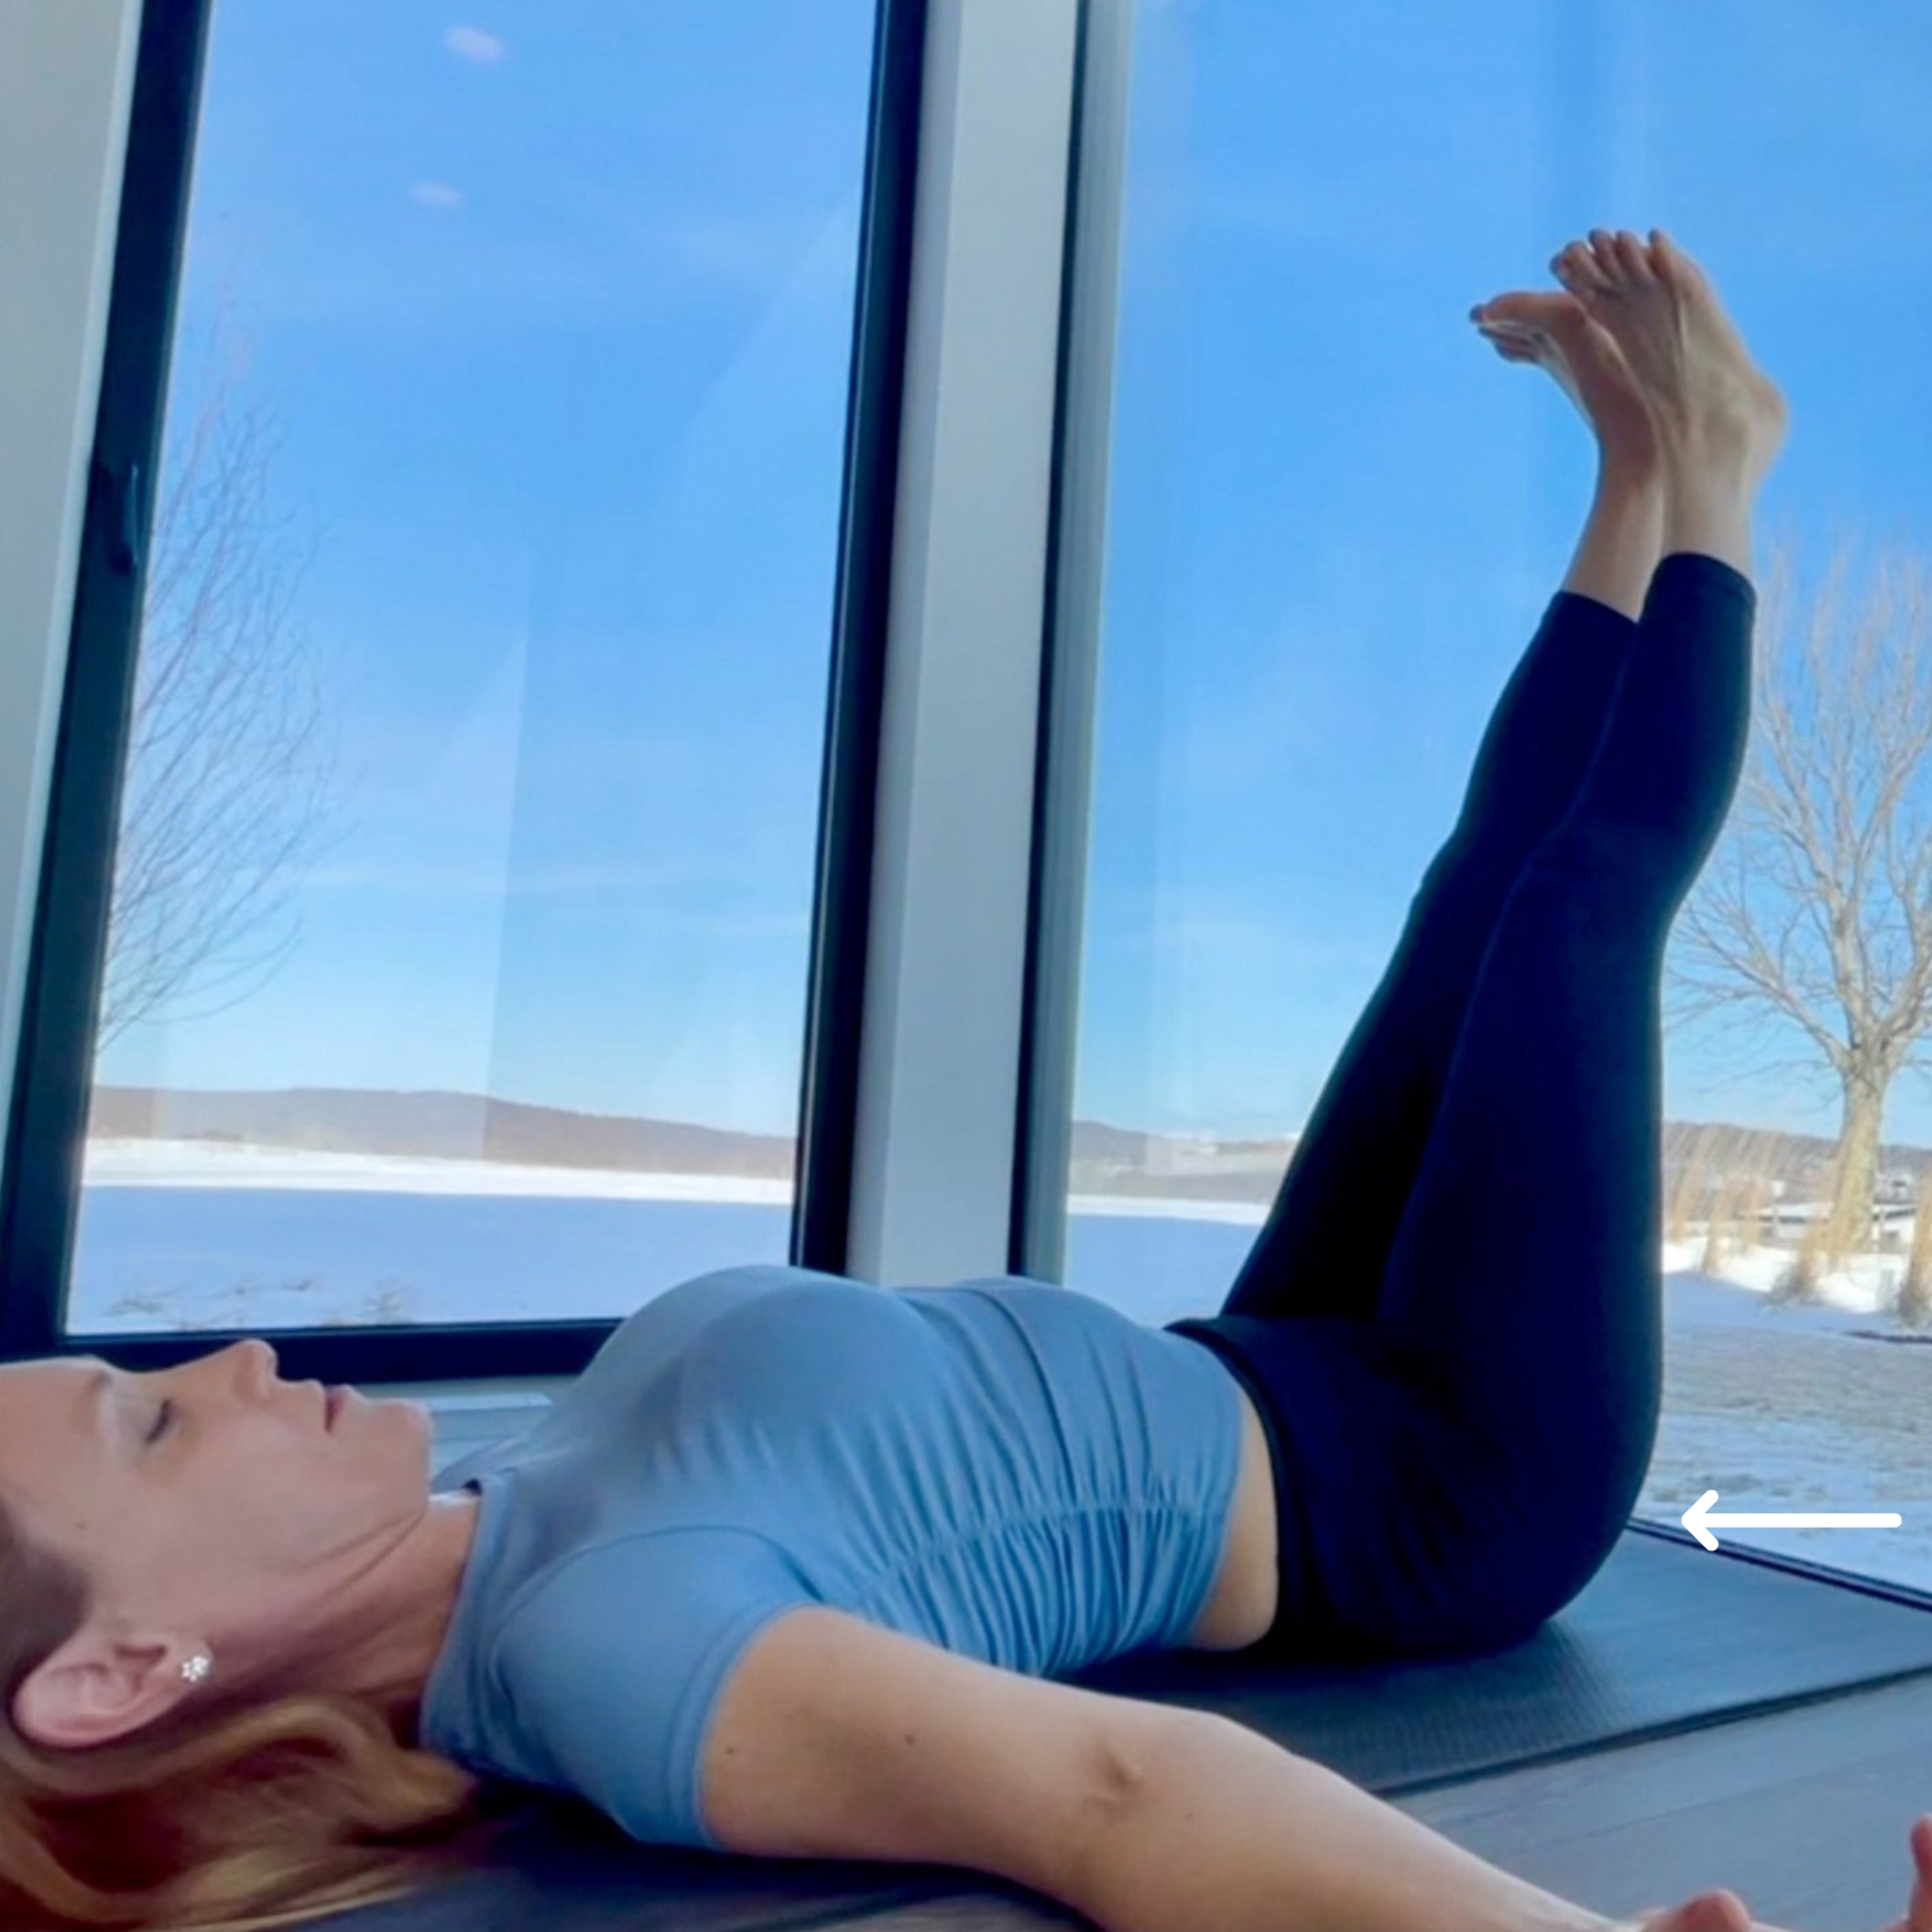
Keep your whole back on the floor, sacrum (lowest part of your back) included. This is what keeps the lumbar discs safe while your hamstrings lengthen. If your lower back pulls up off the floor, your hamstrings are tight and you need to move your hips further from the wall until the sacrum can rest fully.
Once settled, you have two options. Rest here and breathe, which is valuable on its own. Or extend actively through the heels, reaching them toward the ceiling for a deeper stretch through the hamstrings and calves. The more you flex your feet, the more you feel the calves. To rebuild torn or overstretched hamstrings, press your heels gently but firmly into the wall, activating the muscle rather than lengthening it.
Some people feel tingling in the legs at first. Move to the next position if that happens. It typically resolves within a few sessions.
Legs Wide Apart: Inner Thighs and Psoas
When you open your legs out to the sides, you're stretching the inner thigh muscles. Move both legs evenly out from the midline, not one further than the other. If one leg is notably tighter, bring the more flexible leg back to match it. Let the exhale and time carry you into a deeper opening rather than forcing it. Some people find more range in a single session; some find it over months. Either is normal.
Soles of the Feet Together: Hips

Bring the soles of your feet together and let the knees fall open toward the wall. This continues to open the inner thighs and adds an outer hip stretch. If the feet feel tender against the wall, fold a towel or piece of yoga mat between yourself and the wall.
To increase the stretch, gently press your thigh bones toward the wall with your hands. These areas hold a remarkable amount of accumulated tension and open on their own timeline. Don't rush this one.
Ankle to Knee: Outer Hips and Glutes

Cross one ankle over the opposite knee, foot flexed. This targets the outer hip muscles and glutes, where many people carry chronic tightness they've been told is a back problem.
Keep the foot flexed throughout. If you feel strain in the knee, back off. The stretch should be in the hip muscles, not your joints. Keep the sacrum reaching toward the floor and rock gently side to side to move the stretch through the full glute. Pause wherever it feels most productive. Repeat on both sides.
Feet Sliding Down: Psoas and Lower Back Release

Slide your feet down the wall until your knees are bent. Continue to extend your sit bones toward the floor. You'll likely feel a stretch in the lower back, right where the psoas attaches to the spine.
If keeping the knees together is difficult, use a yoga strap to bind the thighs and hold this position while pressing your feet into the wall.
Supine Twist: Spine, Glutes, Chest, and Neck

Drop both legs to one side and turn your gaze the other way. Extend the top hip toward the wall while letting both shoulders release toward the floor.
The goal is both shoulder blades staying in contact with the floor. If the opposite shoulder lifts, use a bolster or folded blanket to support your legs until both shoulders are resting easily on the floor. Press your feet into the wall as you extend the top hip away from the ribcage. Repeat on both sides.
Bolster Under the Lower Back: Spinal Decompression

Slide a bolster, rolled blanket, or firm pillow under your lower back. You'll feel the lumbar spine gently extend, the reverse of the forward rounding most of us carry all day. Breathing into the upper chest becomes easier here.
Use the inhale to expand the rib cage from the inside out. If the bolster feels too intense, try a folded blanket or a firm block under the sacrum instead. If this feels wrong, skip it altogether.
Who Should Be Cautious with Legs Up the Wall
Don't hold this sequence for extended periods if you're in late-term pregnancy, have glaucoma, have extremely elevated blood pressure, or have any condition that prevents lying on your back for a sustained period. When in doubt, ask your doctor first.
Track What Your Body Does
The most useful thing you can do alongside this practice, especially if you're working with blood pressure, back pain, or anxiety, is track what changes.
Note your pain level, blood pressure readings, energy, or whatever is most relevant before and after each session. Over days and weeks, patterns emerge that no specialist can find for you, because they are yours alone. I designed a free tracker for exactly this purpose.
If you're working on blood pressure specifically, bring two weeks of before-and-after readings to your next appointment. That data is your leverage in the room.
Frequently Asked Questions: Legs Up The Wall
How long should I hold legs up the wall?
How often should I practice legs up the wall?
Can legs up the wall lower blood pressure?
Is legs up the wall safe for herniated discs or back pain?
Why do my legs tingle during legs up the wall?
Can I do legs up the wall in bed instead of on the floor?
What muscles does legs up the wall stretch?
Is legs up the wall good for anxiety and stress?
Should I avoid legs up the wall if I am pregnant?
Do I need a bolster or special equipment for legs up the wall?
Props you may need:
Books for your research:
The Science of Yoga (The Risks and the Rewards)
A Physiological Handbook for Teachers of Yogasana
Links above are affiliate links. Thank you for using them.
Further Reading
For the science and practice behind why this sequence works as well as it does:
- Coaxing the Nervous System Toward Healing
- Explaining Fascia, Myofascia, and Self-Myofascial Release
- Standing Poses at the Wall
- Why Diaphragmatic Breathing Matters
- More movement resources
Author


